Detailing & Ceramic Coating A New Car

IN THIS GUIDE:
- Learn the easiest and most thorough way to detail any brand-new car
- Discover the products to clean and get your car ceramic coated
- Find out the benefits of ceramic coating your car at home

THE BENEFITS OF USING CARAMICS ON YOUR NEW CAR:
- It's quick an easy to protect your investment for up to 12 months
- You can protect your whole car, not just the paintwork
- Caramics will save you hundreds compared to a dealer option coating, if not thousands!
Because Refining & Protecting Your New Purchase Is Never Going To Be a Bad Idea…
You may not think that a new car, fresh from the factory, will need any detailing at all, but if we're honest that couldn't be further from the truth. It's obvious that you won't be taking delivery your new car in a filthy state, any car dealer will at least give it a wash… but that doesn't necessarily mean that it'll be the safest, swirl-free wash out there. After all, car dealers are not in the business of detailing, they're in the business of "chucking a bucket of water over it" and moving on to shift as many other cars as possible.
In reality a quick valet will usually be the extent of the customer service provided, unless of course you're paying extra, in which case they may offer you a specialist service, like a ceramic coating… and they'll happily charge you through the nose just to protect paintwork that may or may not be sufficiently corrected in the first place.
But, there is another way, a way that could save you hundreds, if not thousands of pounds that could be better spent on more of those essential optional extras. So, here's our guide on what you can do, what to look out for, and the detailing products to use to get your new car even better than factory fresh…

Why Is It Important To Protect A New Car?
Put simply, it's important to protect any car from the effects of the environment and it safeguards any detailing work you've put in along the way. When it comes to new cars, unless you've paid for a proper detail, it's unlikely that the paintwork will come sporting any protection, and even more unlikely that the wheels, glass and interior will be protected.
Modern paint is also more inclined to look decent right out of the box, so new cars also lend themselves well to a ceramic coating. These will, in turn, offer a hard layer that grime and water can't penetrate, preventing the onset of micro scratches and oxidation before they can happen. It's simply about protecting your investment.
But, adding protection is all about preparation, factory paintwork is rarely immaculate, even on high-end cars. It's true that there won't be the various dents and dings you'll find on older cars, but that doesn't mean that the paintwork will immediately be ready to accept protective coatings. Look closer and you'll see that very often it isn't.


How Is Coating A New Car Different?
The short of it is that it isn't. Using Caramics on a brand-new car is no different to using it on any other. Assuming you've refined the surface, application is exactly the same. Caramics ceramic coating can be used on any car of any age, even those that have been vinyl wrapped.
Where the car detailing process differs however, is all in the washing and preparation stages. There's (usually) far less decontamination and paint correction needed on a new car. There will be a little of course, the car may have driven a few miles while being delivered to you or the dealer, after all. Oh, and we totally understand if you've already taken your new purchase out for a spin on a few muddy B-roads, who doesn't want to do that? Just remember that any general grime and other contaminants will need to be cleaned away before paint refinement and coating.

It's also wise to consider where the car may have been stored after manufacture - a dusty warehouse or storage yard perhaps. Along with the wash the dealer may have carried out while the car was in their care. When new cars are delivered, they're cocooned in all sorts of protective shrink wrap and polystyrene armour, this can actually abrade paintwork. Some may be taped up in various places, too, which leaves sticky residues on surfaces. Maybe your dealer used harsh chemicals to remove those, or perhaps just scrubbed away at the paintwork, inflicting swirls as they went.
While all these things may not be as bad as a car that has carried out thousands of miles over a number of years, the point is that it likely won't be perfect. And simply locking in imperfections with a coating isn't the way to start. Luckily, everything from cleaning and preparation to adding protection with our Caramics Complete Protection Kit is extremely straightforward. There's just three key steps you need to remember. These are to clean, enhance and protect.

Step 1: The Wash Phase
It goes without saying that an effective pre-wash is king here. The idea being to rid your car from any loose dust, along with the worst of the grime and debris before you contact wash. But first of course, it's essential to get your wheels spotless, because with Caramics - you can add a ceramic coating these later, too.
Now, unless you've put hundreds and hundreds of miles on the car, the grime and brake dust on your wheels will be sitting on the surface and won't require a full decontamination wash to remove. Using Imperial Wheel Cleaner, agitated with brushes dipped in a bucket of Revolution Wheel Shampoo will be plenty to lift away these contaminants.
What's important with wheels, especially if you're going to be coating them, is to make sure you cover every surface. Use a Barrel Brush for the inners and spokes, along with a Detailing Brush and a wash mitt to make sure they're clean. Be thorough, and don't forget to scrub your tyres and arches either, we recommend Verso All Purpose Cleaner for that.


Now on to the one of the most important processes - the 2-stage pre-wash. As we said at the start, you may have driven the car a little, and you definitely won't know where it has been stored, so the pre-wash is not only designed to get rid of the mucky stuff that you don't want to be dragging across your paintwork, but all the abrasive dust and grime that may have found its way into recesses and panel gaps. By flushing these out now, you take away the risk of any being transferred to the paintwork when you're coating.
After a full rinse down, the first stage is to use a pre-wash cleaner. Here we're utilising Citrus Power Bug and Grime Remover, which has more than enough bite to break down and lift away the heavier contaminants. Citrus Power doesn't need to be diluted before you spray, this cleaner and degreaser is always ready for action.
Simply apply liberally to all surfaces, leave for a couple of minutes to dwell while it breaks down the dirt, and then the hardiest of grime can simply be rinsed away with your pressure washer.


The second stage of your pre-wash is using Avalanche Snow Foam. Infused with citrus cleaning and degreasing agents, Avalanche breaks down grime in a similar way, but here you'll find that the foam will work its way into all the gaps, lifting and lubricating dust and contaminants that you may not be able to get at otherwise.

Once you've applied your Avalanche from top to bottom, it's always a good idea to use a detailing brush to agitate around areas like the front grilles, window rubbers and fuel caps, this will make sure that any trapped grime is lifted out. After that, it's a simple case of thoroughly rinsing the vehicle down - note that we said "thoroughly' here, be sure to flush out those arches, grilles and panel gaps.


Now you can safely get on tocontact washing. Just 3-4 capfuls of Lather Car Shampoo in your wash bucket will be enough to remove the last of the grime. As always, a 2-bucket wash is key here. Rinsing out your wash mitt in a bucket of plain water, before you put it back into the fresh shampoo bucket will always be the best way to ensure your contact wash remains swirl-free.
When you've covered every inch of your vehicle, another thorough rinse should see the surface free of dirt, so now you can check for any other contaminants.


Again, on a brand-new car at least, carrying out full 3-stage decontamination won't usually be necessary. What we mean here is that sticky residues like tar and glue are unlikely to be found without significant milage. It's also unlikely that your paintwork will be covered in engrained contaminants and paint oxidation, it simply won't be old enough. The key here really is assessment of what you need.
One process that's always a good idea though, is using Iron Out Fallout Remover to dissolve any metal ferrous particles that may have been picked up in storage or out on the road. Being essentially sharp pieces of metal, flying around in the air, it's surprising how quickly these can become embedded in your paintwork, even on a brand-new car with just delivery milage.
Using Iron Out is a simple affair, just apply to the surface, leave for a few seconds to bleed away the fallout, and rinse away the metal particles which will be suspended in the solution. This process will prevent the chunks of metal from creating scratches and swirls when you refine the paintwork later.

The last part of the wash stage is to re-wash the areas that have been decontaminated with Iron Out, using your Lather car shampoo, this will quickly neutralise any leftover product residue, leaving behind a pH neutral surface.
After one more rinse you can then dry the whole vehicle with an Aqua Deluxe Drying Towel. Only when your car is totally dry can you move on to the next step.


Step 2: Paint Correction & Enhancement
On a new car, it's unlikely that there will be any significant paint damage that will requires heavy correction with the coarsest abrasives. For the most part this process will simply be designed to refine the paintwork to remove any light swirls and to get it better than factory standards… more what you'd call "detailer standards', right?
That said, a thorough assessment of the whole vehicle using a light source is the only way to make sure. If there are heaver swirl marks or scratches, you will need to adjust the products you use along the way. But that's not a problem, we have the whole of our Revitalise System to take you through the entire process.
What's most important here is to use one or a combination of our Revitalise compounds for this process, because they contain no waxes or fillers that will stop your ceramic coating from adhering to the paintwork. The most likely scenario (as it is here) is that you'll simply be looking to refine your paintwork using Revitalise No:3 Refining Compound.
First mask up any sensitive areas - like window rubbers and plastic trim - that run the risk of coming into contact with your polishing pad.


Now apply 3-4 pea-sized drops of your compound to a soft, Revitalise No:3 Refining Pad, and apply to your paintwork.

Start your Machine Polisher on speed setting number 2, working in a crosshatch motion of overlapping passes, over an area of approximately 2-feet by 2-feet.
Work up to speed setting number 4 with moderate pressure, and then make a final pass at speed setting number 2. You'll know when your Revitalise No:3 has been fully worked through when the hazing fades to clear under the pad.


Wipe off the residue over the whole section, and this will reveal your freshly refined paint. When you're happy with the finish, you can clean out your pad (using a Pad Cleaning Brush away from the vehicle) to prevent excess product clogging, and then move on to the next section.
After you've covered the entire body, you can get break out the Caramics Complete Protection Kit and begin the ceramic coating process.

Step 3 Coating With Caramics
Caramics is specifically engineered to make applying ceramic protection as straightforward as possible. Each part of the kit (paintwork, glass, wheels and interior) is designed as a special multi-stage process engineered to prepare and coat surfaces, leaving behind a Si02 layer which offers hard, quartz-based protection that lasts for up to 12-months.
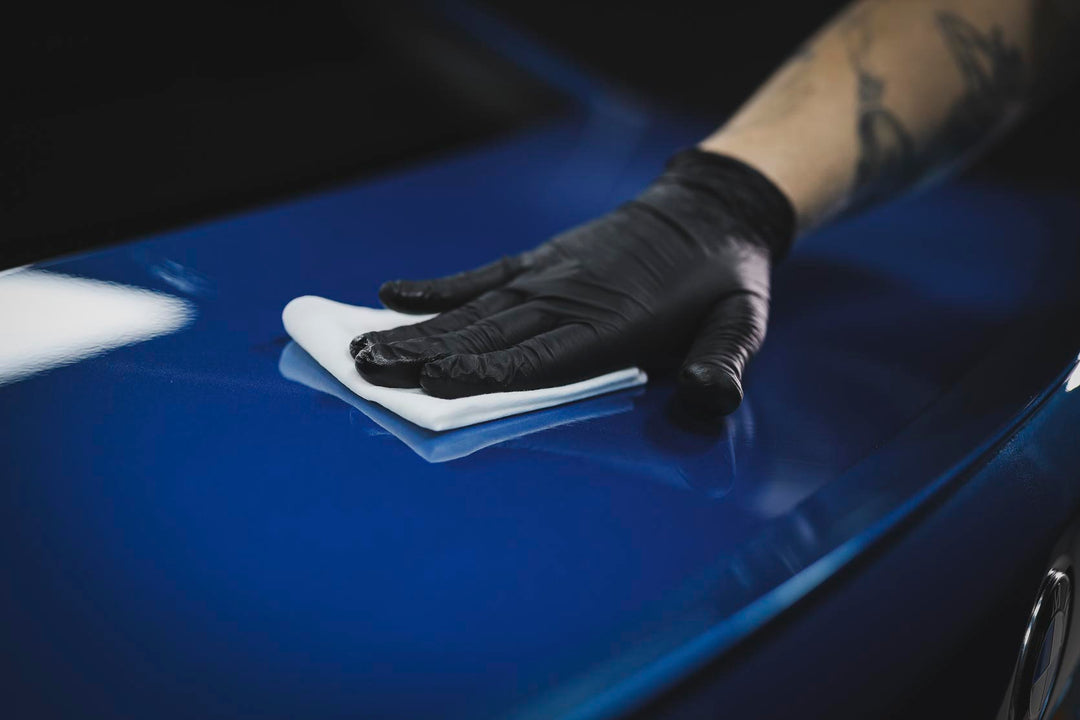
The Paintwork Protection Kit is your first port of call here. We've designed this one to use special Ceramic Resin Wipes to make transferring and spreading the Caramics coating easy. But first you need to make sure the surface is ready to accept the coating, using the supplied Prep Spray.
Spray a light mist over the paintwork and buff off with a fresh microfibre cloth, this will remove the polishing oils and residues from the previous stages, along with fingerprints and any other dust the car may have picked up.


Now you can open your Ceramic Resin Wipe. Open out whole wipe and then fold into quarters, this helps it fit your hand, giving you more control over the process. A single Ceramic Resin Wipe will be plenty to complete a whole panel.
Starting in the middle, pass your wipe over the panel in overlapping lines, first from top to bottom and then from left to right, all the while ensuring full coverage.


After 2-5 minutes of curing time, buff off the residue, working from the outer-edges inwards, making sure you rid the surface of any smears.
Check with a light source to make sure that all residue is removed, and then move on to the next panel. That's all there is to it!

Our Glass Protection Kit has a similar application method, again using special Glass Wipes.
First, use the supplied Glass Polish too deep clean your glass, this will rid the surface of any contaminants. Even on a new car this is an important stage.


Then apply the Glass Wipe to the window in the same way as you have on the paintwork - starting in the working over the whole window in a crosshatch motion, first up and down, and then side to side. Here one wipe will cover a whole window, although it sometimes helps to apply to half a windscreen or large rear window at a time.

As soon as the coating hazes dry, mist on a couple of spritzes of the Residue Remover spray and buff away any residue with a clean microfibre cloth, until your glass is clear and smear-free.


Coating your wheels uses a slightly different process, we've designed our Wheel Protection Kit as an easy-to-use spray-on product.
Treating one wheel at a time, the first process is to use Prep Spray to prepare the surface. A quick spritz, either directly onto the surface or onto a microfibre cloth, followed by a wipe to dry is all you need here. Just be sure to cover the entire area.

Then you can apply your coating. Liberally spray over the surface and work into every recess with the supplied Micro Wipe Applicator.
Immediately remove the residue with a fresh microfibre towel. Once again, using a light source makes this process easier.


Last but not least, we have our Interior Protection Kit, which includes coatings for both leather and fabric. Just like our other coatings these can only be applied to clean surfaces, so you will need to detail your interior fully before application. After vacuuming (and cleaning carpets mats and seats thoroughly with Total Interior Cleaner), your Caramics Interior Protection Kit can be used. But, you must always ensure that any fabrics are dry prior to coating.
Again, our interior protection coatings come in spray form. For fabrics, carpets and mats simply spray a fine mist over the entire surface, and allow to dry.
For leather, spray your coating onto the microfibre applicator and apply an even film over the whole surface, allowing it to dry into the leather.


Finishing
Of course, it goes without saying that there's a few other tricks that can take detailing your brand-new car to the next level. These can even offer extra protection along the way.
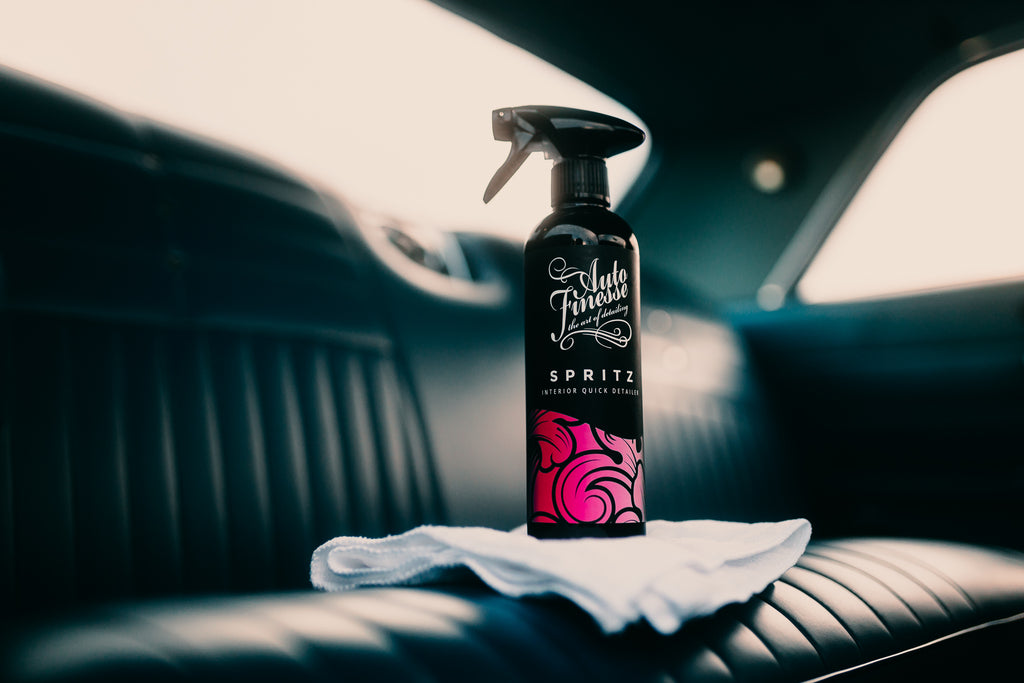
Spraying Spritz Interior Quick Detailer onto a microfibre cloth, for example, is ideal for dusting and cleaning dashboards. This product also offers extreme protection against UV fading.
In a similar way dressing your tyres with Satin Tyre Dressing not only offers UV protection for your new rubber, but the layerable, water-based dressing allows you to choose the level of shine you're after, too. A single coating will give tyres a natural matte finish, while multiple layers will build up more of a wet look shine.


And, what about the area that's most often forgotten? Especially on the newer cars out there. We're talking about under the bonnet. Okay, it's pretty obvious that your engine will be reasonably clean and tidy, but the good news is that modern cars tend to come with acres of plastic that can be quickly and effectively cleaned and dusted with nothing more than a bottle of Finale Quick Detailer and a microfibre cloth. A spritz and a wipe with Dressle All Purpose Dressing can make all the difference here, too. It's always the perfect finishing touch!


The Results
So, that's how you can get your car looking better than the proverbial "showroom finish', and even more importantly - keep it looking that way for longer. As an added bonus, after using Caramics, it'll always be far easier to clean the next time around, too.


