


How To Set Up Your Foaming Pressure Sprayer

There’s no doubt that our professional-grade Foaming Pressure Sprayer is a detailing essential for all those looking to get the most from their cleaning solutions over multiple details. This super-tough pro accessory has proved its worth among hundreds of detailing professionals around the world for the quick and easy application of both ready-to-use cleaners, such as Citrus Power Bug & Grime Remover and dilute-to-suit products like Dynamite Traffic Film Remover, Verso All Purpose Cleaner and Imperial Wheel Cleaner. In fact, it's clearly one of the best detailing products, ever.
But, did you know that our Foaming Pressure Sprayer can also be used to apply your Avalanche Snow Foam, too? The clue really is in the name here. It also makes this next-generation detailing accessory ideal when a Snow Foam Lance isn’t available or if you’re looking to perform the safest possible detail on the go… say, if you’re looking at Detailing At Your Local Garage Jet Wash.
And what’s more, the Foaming Pressure Sprayer is already supplied complete with everything needed to get it ready to roll for both types of application method whenever you wash your car.
Let’s take a look at how to set up yours for every detail…

Setting up for use with liquid cleaning agents...
Getting your Foaming Pressure Sprayer ready for use with your favourite pre-cleaners, APCs and other liquid cleaning agents is quick and simple.
In this guise our heavy duty Foaming Pressure Sprayer is used simply to apply your detailing products quickly and evenly, atomising spray-on cleaning solutions without whipping them up into a foamy consistency.


Here we only need two attachments - the blue-tipped non-foaming adjustable nozzle, and the non foaming siphon pipe.

First, double check that you have the right, pipe. The Foaming Pressure Sprayer comes with two siphons and for a non-foaming action, you need the one with the short strainer cap. In the picture below it's the one on the left.
Insert this pipe into the hole in the bottom of the Pressure Sprayer trigger head. It only goes in one way - the strainer cap will be at the bottom on the pipe.


Next screw on the adjustable nozzle, and that's it, you're ready to go!


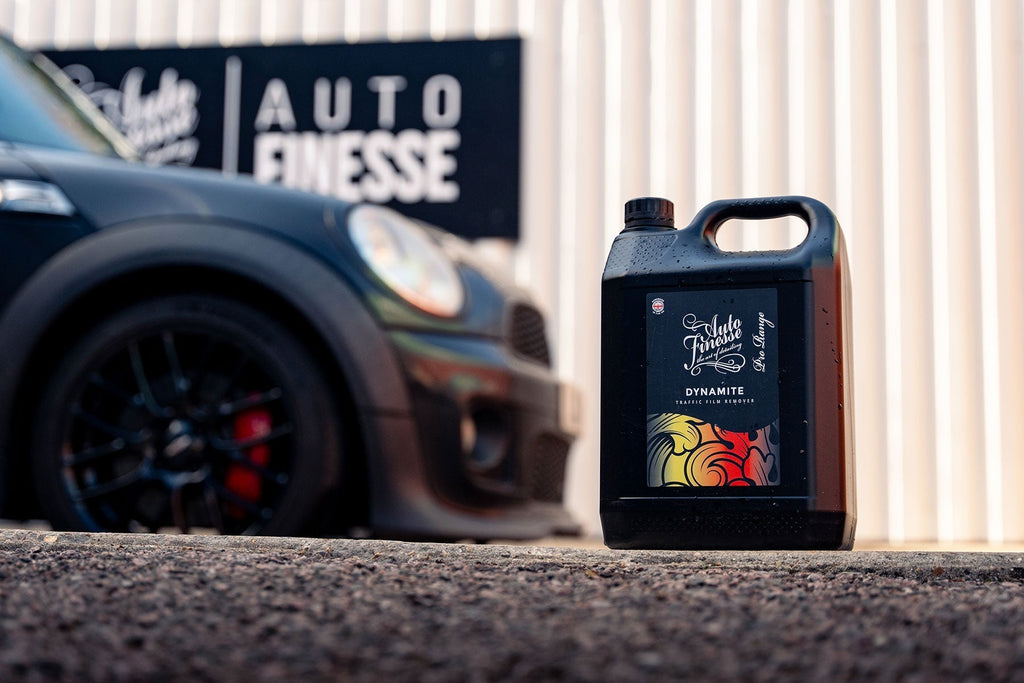
Now you can fill the huge 2-litre dispenser bottle with your cleaning product of choice, whether that's a ready-to-use cleaner like Citrus Power Bug & Grime Remover, Imperial Wheel Cleaner and Total Interior Cleaner, all of which are available in 5-litre trade size bottles. Or you can choose our dilute-to-suit products like Verso All Purpose Cleaner or (as we're using here) Dynamite Traffic Film Remover.
Simply fill with your cleaning solution and dilute if necessary. Then screw on the trigger head, pump up the pressure and apply.


Setting up for a foaming action...
Again, setting up your Foaming Pressure Washer for use with Avalanche Snow Foam is just as quick and easy. Here's how it's done and what to watch out for...


This time there's 3 parts needed - the black adjustable foaming nozzle, the foaming siphon pipe, and the special foaming grommet.
All these parts are vital to the operation and together they help your Foaming Pressure Sprayer create that thick snow foam consistency that's designed to linger on surfaces for longer while it breaks down a suspends bonded grime.

You can set up the siphon pipe or adjustable nozzle in any order of course, but first we like to fit latter, because that's where the special grommet comes in. This fits between the nozzle and the trigger head and is one of the parts that makes the magic happen, so keep it safe when not in use.
First remove the blue-tipped no foaming nozzle (if applicable) and then push the grommet into the nozzle screw fitting, thin end first.


Now you can screw on the adjustable foaming nozzle, locking in the grommet.

Finally, remove the non-foaming siphon pipe from the bottom of the trigger head (if applicable) and then replace with the special foaming siphon pipe. Be sure to fit this one the right way around, the wider part of the pipe should be closes to the trigger head, this pipe doesn't require a strainer cap at the bottom.

Now you're ready to break out the Avalanche Snow Foam for the ultimate pre-wash at home or on the go.
Add around an inch of Avalanche concentrate, top up with water and screw on the trigger head.
Now you can pump up the pressure and apply your snow foam with ease. Don't forget that the nozzle is adjustable enabling you to get the perfect fan or directional spray depending on your requirements.


So, there you go, that's how to quickly set up and use this top-notch detailing essential for each process, every time you wash your car.
For more how-to features, training courses, product guides and an in-depth look into our big details, check out the Guides Section of Our Blog.


Foaming Pressure Sprayer
The Auto Finesse pump sprayer has now progressed to a new level, not only can it offer all of its original qualities but it can foam too! Great for all those, t... See product details More


