How To Set Up & Maintain Your Snow Foam Lance V2

IN THIS GUIDE:
- Learn how to set up your Snow Foam Lance V2 from new
- Discover the best way to deep clean and service your equipment
- See how to use your Foam Lance for the most effective pre-wash or to add hydrophobic protection
- Learn how much snow foam to use and how to tackle variations in water flow rates

REASONS THE PROS ALWAYS PACK A FOAM LANCE:
- Snow foam hugely decreases the risk of causing swirl marks in the contact wash phase
- Makes adding ceramic protection - just after washing - easier than ever
- Snow foam quickly works into all recesses to dissolve and lift grime with next to no effort at all
Our latest Snow Foam Lance V2 is undoubtedly one of the most essential pieces of kit you'll ever need for keeping your wash swirl-free, and nowadays it's also extremely useful for adding quick and easy ceramic protection after the wash stage, too. Engineered to perfectly complement our Avalanche Snow Foam range and Lavish Ceramic Foam, you'll also find that setting up, maintaining and even periodic deep-cleaning and servicing of our Foam Lance is extremely straight-forward when you know how.
Here's everything you need to know…
How the Foam Lance works
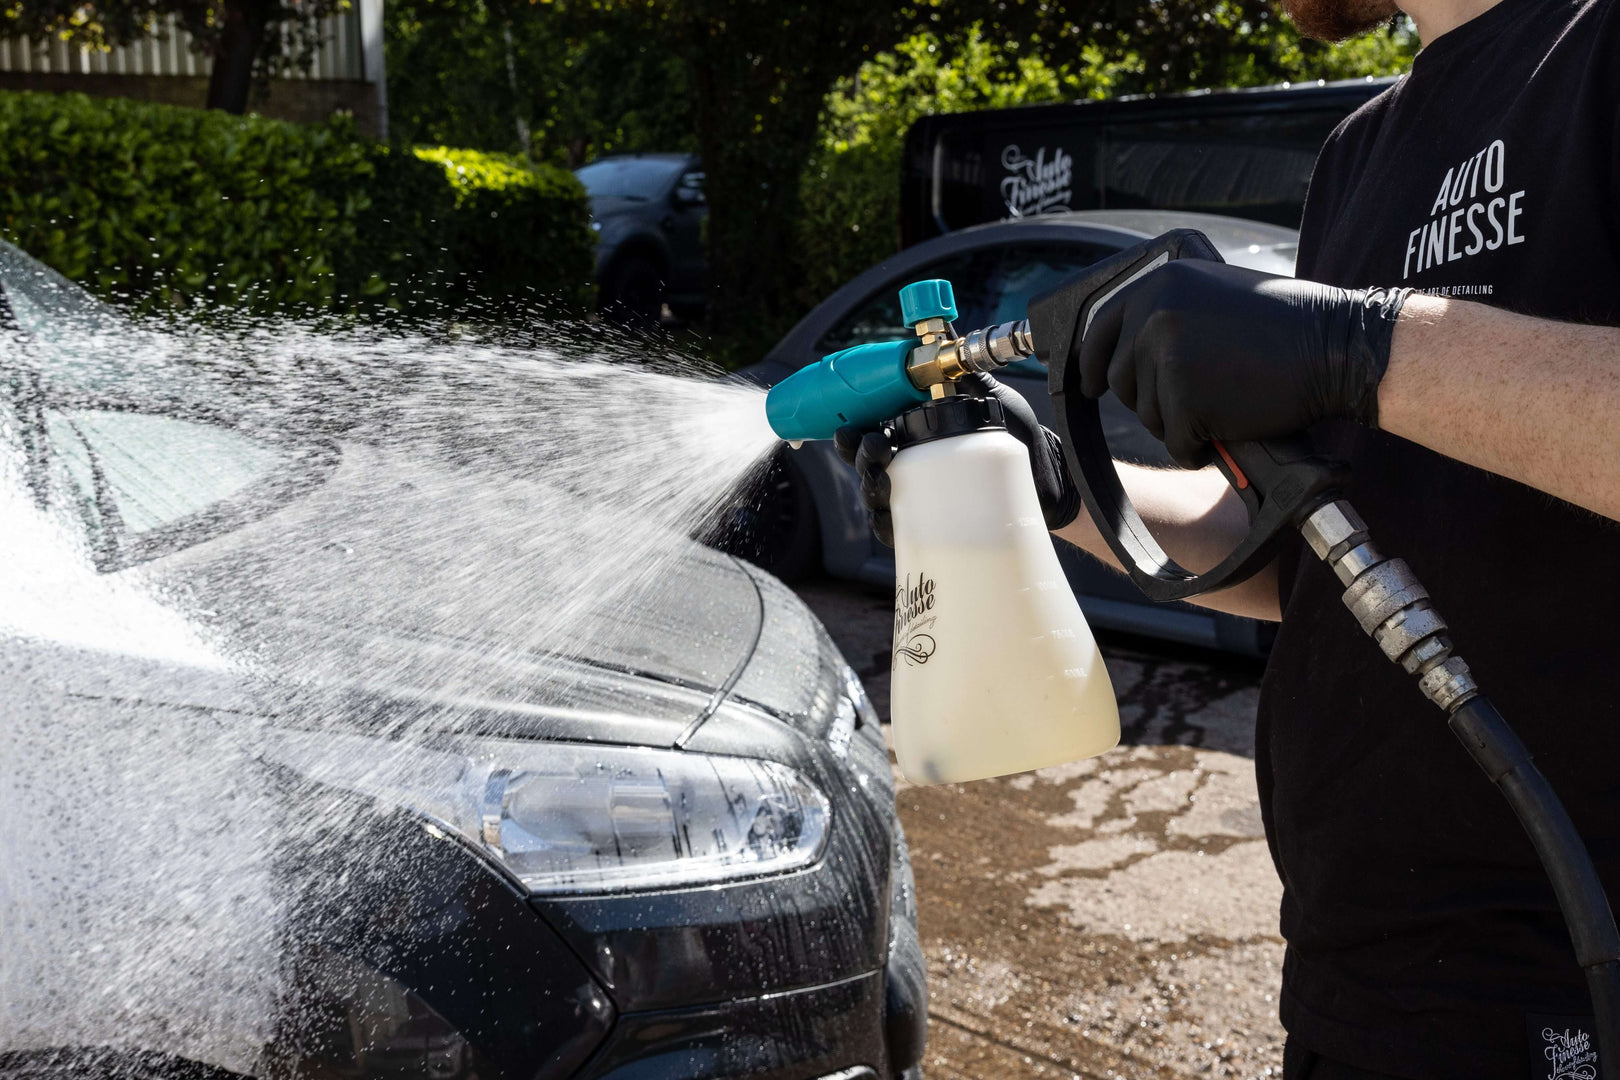
Snow foam is a formulation that comes in two parts - a citrus-based cleaner and a carrier (foaming agent). When water is run at high pressure through your lance, it has the duel effect of creating a syphon to draw the product up and out of the bottle to mix with the water through the gauze filter, and to activate the carrier, which in turn creates the foam.
Unboxing
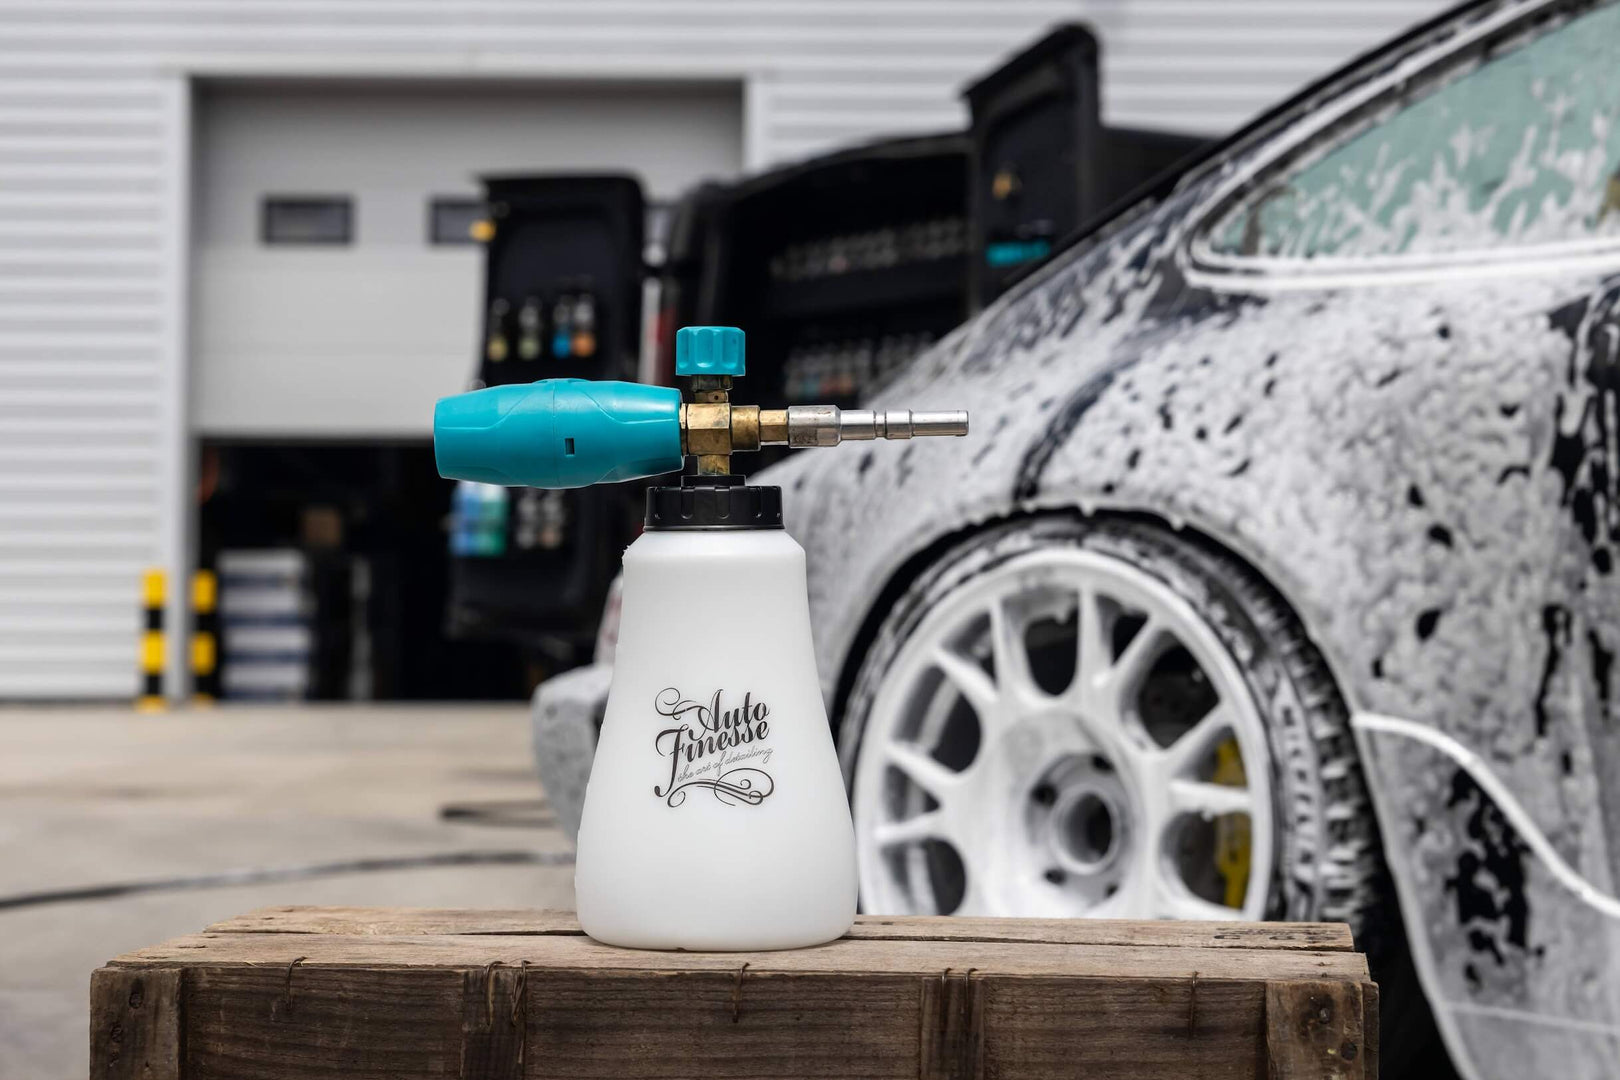
To get started with your Foam Lance V2, lay out the contents of your box. It should contain:
1x Foam Lance body assembly
1x dip hose and strainer
1x PTFE Tape
1x male-male threaded fitting (if applicable)
1x pressure washer adaptor
1x 1.5-litre foam Lance bottle

Setting Up
The main Foam Lance body is pre-assembled at the factory for your convenance and you will have already chosen the correct adaptor for your particular pressure washer when ordering. So, the first step is simply to fit your adaptor to the main body of the Foam Lance.

The brass lance body comes with a female threaded end designed to accept your pressure washer and, with the exception of our 1/4 Quick adaptor (which will screw straight into the lance using a 14mm spanner), all of our tailored adaptors use a smaller 15mm male-male threaded fitting for perfect installation.
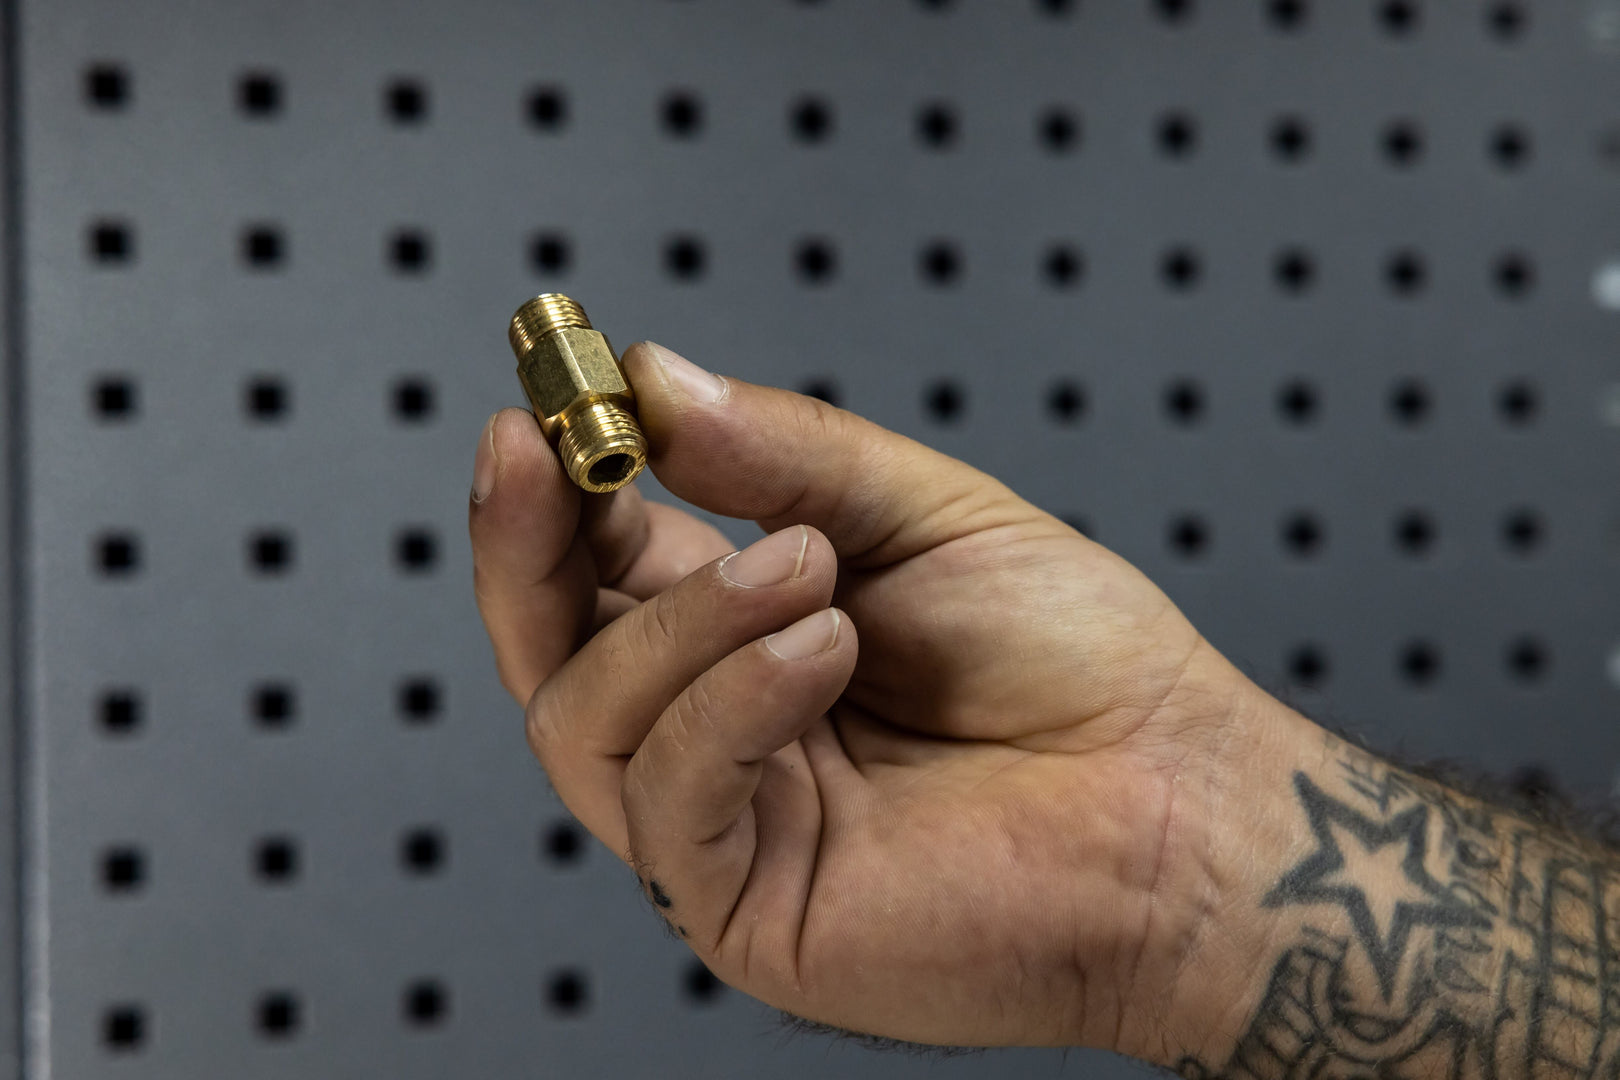
First use the supplied PTFE tape to cover the thread on the male-male fitting. Be sure to wind on your tape carefully in a clockwise direction, avoiding bunching up the tape at any point. This will ensure that your tape moves with the thread instead of against it when winding-in the fitting.
Start taping on the second thread from the end, working your way back towards the hexagonal end. A couple of wraps over on the thread is usually enough to seal it effectively.
Using PTFE in this way tape will not only prevent any annoying leaks under high pressure, but help the lance sit perfectly straight on your washer.

Now you can screw the male-male fitting into your chosen pressure washer adaptor. Do this by hand making sure that the fitting winds in straight without cross threading.

To tighten your fitting use a 15mm spanner while holding the pressure washer adaptor with a large adjustable spanner (or mole grips). Nip these up tightly.

Once your fitting is installed into the adaptor, repeat the PTFE tape process with the thread on the other end, and then wind into your Foam Lance body. Once again be careful to ensure that your adaptor is centered. If your fitting is angled or feels loose, a little extra PTFE tape may be required to pack out the thread.

Tighten your male-male fitting with a 15mm spanner while holding the body of the foam lance securely. Alternatively, you can use the open end of a 24mm (or adjustable) spanner on the hexagonal part of the Foam Lance for better grip.

The last part of the process is to push the dip tube firmly onto the hose fitting located under the bottle cap. Now your Foam Lance is ready to use.

In Use…
Once attached to your pressure washer gun, our Foam Lance is easy to adjust to your needs. But, before you attach, first add around 300ml (an inch or so) of Avalanche or Lavish to your bottle and top up with water.

Screw the bottle onto the Foam Lance Body and attach your Foam Lance to your pressure washer, making sure it's fully locked into place. When you first pull the trigger we'd always recommend firing away from the car for a brief moment, just to make sure all fittings are secure.


Adjusting both the flow of water and the spray pattern is also possible. This will help you accommodate for variations in water flow rates from your pressure washer and outside tap.
The flow adjustment knob is located on the top of the body and can be twisted clockwise for less water, and anti-clockwise for more. Remember that the less water you have, the thicker the foam will be, but the more product you will use.
The spray pattern can also be adjusted from narrow to wide, simply by twisting the front nozzle.
For more information on snow foam, check out our full guide - How To Use Snow Foam.


Maintenace
To prevent dried snow foam residues from clogging up the Foam Lance components, we'd recommend flushing through thoroughly after every use. Simply wash out the Foam Lance bottle first and then refill with clean water and attach to the lance.
Running the water through the Foam Lance will flush out the vast majority of cleaning residues and, once cleaned, you can leave your Foam Lance and bottle to dry naturally.

Servicing and Deep Cleaning
Further servicing, including deep cleaning and checking for blockages, may be carried out periodically by partially dismantling the Foam Lance body.
Flushing through each part with warm water or a dilution of white vinegar is effective for removing dry, stubborn soap residues. We'd recommend paying particular attention to the brass body internals, nozzle, plastic strainer at the end of the dip tube and the gauze filter.
The body can be stripped with basic hand tools to reveal the gauze filter, which should be cleaned and descaled occasionally to prolong performance, this is particularly important in hard water areas.

Gauze Filter Removal
1. After removing the dip pipe, remove the front part of the adjustment nozzle by gently pushing in the clips on either side. A small screwdriver is ideal here, careful prise them back, but don't force them. The front part of the nozzle can be pulled away to reveal the inner nozzle and pin.

2. Using a small screwdriver or pick, push out the pin until it can be removed by hand, or with a pair of grips, on the other side.


3. Now you can slide away the whole nozzle.

4. Carefully prize away the front blade holder with a small flat screwdriver.


5. Roll away the O-ring with your thumb to make the flat part of the body accessible.

6. Use a 24mm and a 22mm spanner (or adjustable spanners) to remove the gauze filter holder.


7. Push out the gauze using a small screwdriver. This can then be left overnight in white vinegar to see it perfectly refreshed.


Reassembly is the reversal of assembly, being careful not to cross-thread or over-tighten any of the fittings (just a nip up will ensure this product is watertight).
If you have further questions or need more advice on our Foam Lance V2, contact our customer service team on support@autofinesse.com

